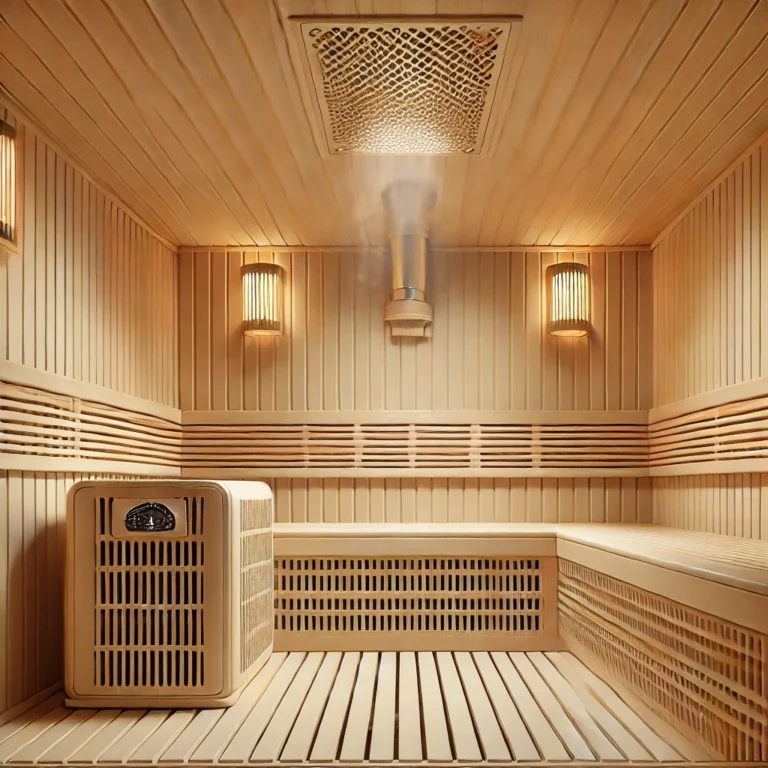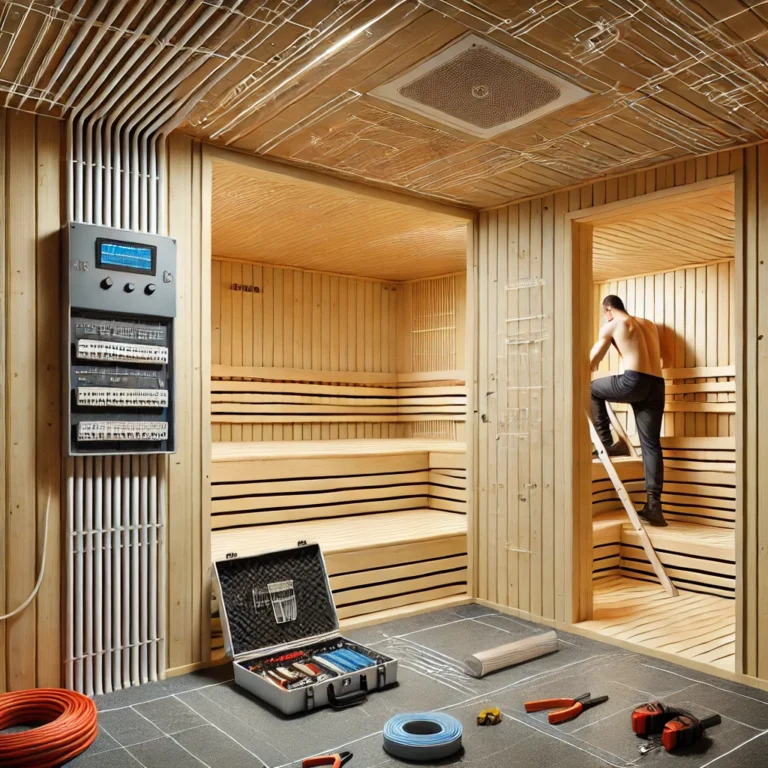
Imported saunas offer exceptional craftsmanship and advanced technology, but their electrical systems often differ from domestic standards. Whether installing a traditional heater-based model or a modern infrared cabin, understanding the exact electrical requirements is essential. This guide presents a technical breakdown of voltage, amperage, wiring, and regulatory considerations to ensure your sauna is safely integrated into your home or commercial space.
Electrical Ratings: Voltage Requirements by Sauna Type
Traditional Saunas
Imported traditional models generally operate at 240 volts, requiring a dedicated circuit. Some commercial-grade units, particularly from Europe, may use 208V three-phase power, especially in high-traffic settings like gyms or spas.
Infrared Saunas
Compact infrared units may operate at 120V, but premium imported infrared models also use 240V for improved heating efficiency. Always verify with the manufacturer.
Important Considerations
- Using incompatible voltage can damage the heater or control system.
- Most imported saunas do not include a plug; they must be hardwired.
- Confirm the sauna’s voltage input label and cross-check with local circuit standards.
Amperage and Wattage: Matching Electrical Load
The amperage draw depends on the total wattage of the heater and accessories. Here’s a breakdown:
| Heater Power (kW) | Voltage | Amps (Approx.) |
|---|---|---|
| 1.5 kW (small infrared) | 120V | 12.5 A |
| 4.5 kW | 240V | 18.75 A |
| 6.0 kW | 240V | 25 A |
| 9.0 kW | 240V | 37.5 A |
Circuit Protection Guidelines:
- Match circuit breaker size to amperage draw plus 25% buffer.
- Install GFCI breakers for safety in damp areas.
- Use dedicated circuits; shared loads are prohibited.
Wire Sizing and Circuit Configuration
Correct wire gauge prevents voltage drops, overheating, and fire risks. Wire selection depends on the heater’s amperage and the circuit length.
| Amps | Wire Gauge (Copper) |
|---|---|
| 15–20 A | 12 AWG |
| 25–30 A | 10 AWG |
| 35–40 A | 8 AWG |
Additional Guidelines:
- Use THHN or NM-B wiring based on whether the sauna is indoors or outdoors.
- Ground all metallic components in accordance with NEC Article 680.
- Install conduit for wiring if routed through unfinished or humid environments.
Hardwiring vs. Plug-and-Play Models
The majority of imported saunas must be hardwired into a subpanel or main electrical panel. This ensures full power delivery and minimizes electrical interference.
Hardwired Installations:
- Require a junction box behind or beside the sauna.
- Must be performed by a licensed electrician.
- Should include manual disconnect switches for maintenance access.
Plug-and-Play Models:
- Limited to small infrared saunas (under 1.8 kW).
- Plug into standard 15–20A outlets.
- Not recommended for multiple users or frequent use.
Control Panels and Compatibility
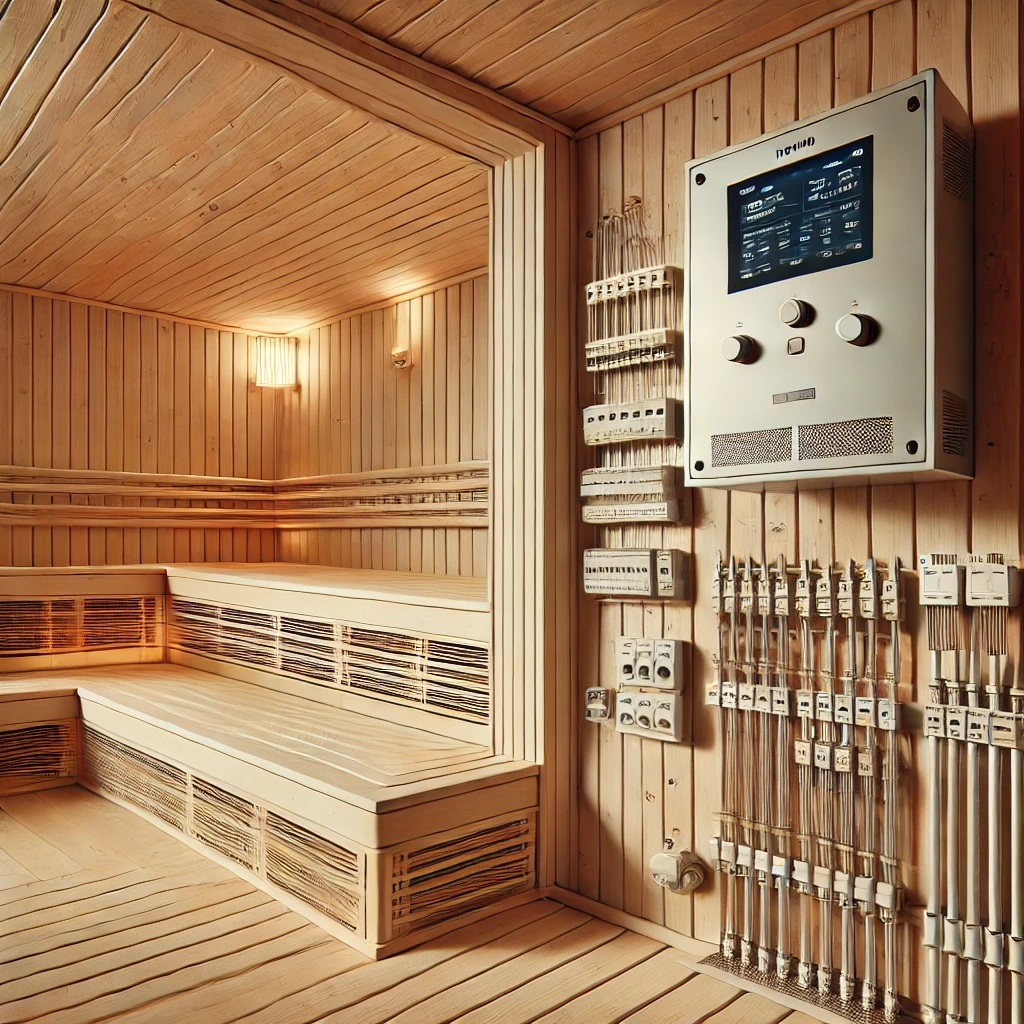
Imported saunas often feature digital control panels with advanced features (timers, thermostats, lighting control). These systems are sometimes incompatible with U.S. infrastructure unless:
- They support dual voltage operation (110/220V).
- They include step-down transformers.
- Wiring follows the exact schematic in the installation manual.
Improper connections can damage internal electronics or void warranty coverage. Consult manufacturer diagrams and provide them to your electrician before installation.
Commercial Considerations
For commercial properties (spas, gyms, wellness centers), additional regulations apply:
- Three-phase 208V service may be required for large units.
- Systems must include emergency shutoffs, indicator lighting, and overheat protection.
- UL listing or ETL certification is often required by building inspectors.
- Electrical permits and inspection approvals are mandatory.
Installing a commercial-grade sauna without appropriate infrastructure can result in immediate code violations and liability risks.
Environmental & Location Factors
Electrical performance and safety are affected by sauna placement. If installing outdoors, near pools, or in basements:
- Use outdoor-rated GFCI breakers and weatherproof enclosures.
- Ensure moisture-resistant cable sheathing (e.g., UF cable or THWN).
- Avoid routing wire through high-temperature zones unless properly insulated.
Additionally, plan for ventilation and thermal clearance near wiring conduits to prevent performance degradation from heat exposure.
Installation Checklist
Before you begin, ensure the following are in place:
- Voltage Match: Confirm voltage compatibility of sauna and local grid.
- Amperage Draw: Calculate total amperage (heater + controls + accessories).
- Dedicated Circuit: Install a GFCI-protected breaker sized accordingly.
- Correct Wire Gauge: Based on amperage and run length.
- Proper Grounding: Follow local code and NEC standards.
- Certified Electrician: Always use a licensed professional.
- Installation Diagram: Use the official manufacturer’s wiring guide.
Regulatory Compliance
All installations must comply with:
- National Electrical Code (NEC) standards (particularly Article 680 and 422).
- Local building codes and inspections.
- Manufacturer warranty conditions, which may void coverage if installation is not code-compliant.
Neglecting compliance can lead to equipment failure, denied insurance claims, and legal liability in commercial settings.
For comprehensive NEC compliance, visit NFPA – National Fire Protection Association and consult a licensed local electrical contractor.
Conclusion: Prioritize Electrical Precision
Imported saunas offer unmatched thermal performance, but they require precise electrical planning. Voltage mismatches, undersized wiring, and improper breaker sizing can result in system failure or fire hazards. Whether you’re installing a home unit or a commercial model, treat electrical integration as a critical phase—on par with ventilation, spatial design, and user safety.
Always start with the manufacturer’s technical specs, consult with your electrician, and adhere strictly to national and local codes. Proper installation ensures peak performance, regulatory compliance, and long-term operational safety.
