Proper installation is critical to the performance, safety, and lifespan of your sauna. Whether installing an indoor infrared unit or a full outdoor traditional model, overlooking key structural or electrical details can result in hazards, inefficiency, or voided warranties. This guide outlines the most important do’s and don’ts for ensuring a compliant and long-lasting installation.
Do: Choose the Right Location
Site selection influences safety, comfort, and operational efficiency. The ideal location is dry, level, and well-ventilated.
- For indoor saunas, select a room with moisture-resistant surfaces and proper ceiling clearance.
- Outdoor saunas require a weatherproof base, drainage management, and proximity to power access.
Avoid placing saunas in laundry rooms, closets, or directly on carpeted floors.
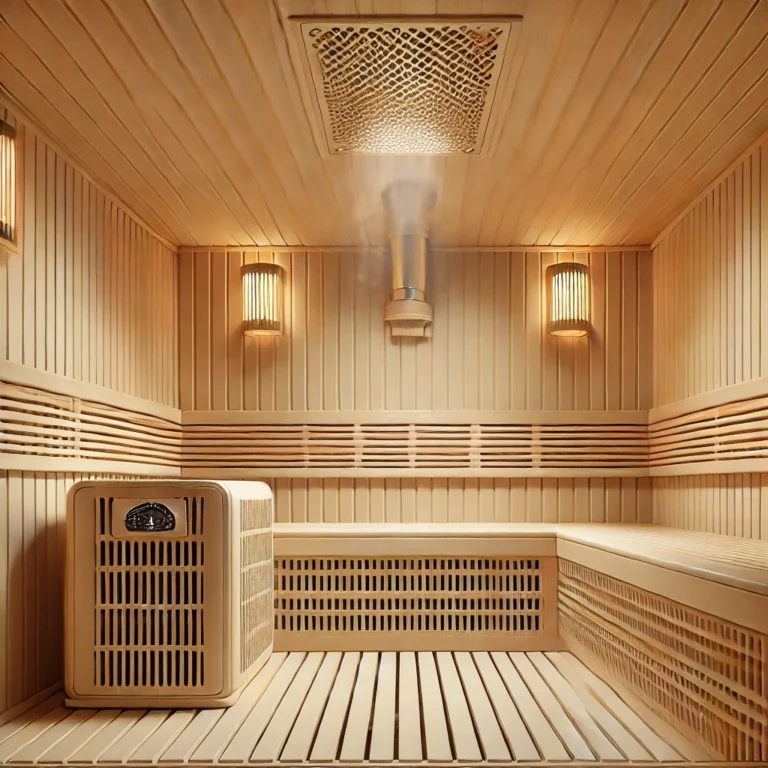
Don’t: Install Without Proper Ventilation
Poor airflow leads to moisture buildup, mold, and overheating.
- Install a low intake vent near the heater and a high exhaust vent on the opposite wall.
- For outdoor models, ensure natural cross-ventilation or integrate passive airflow designs.
- Keep vents free of obstructions at all times.
Ventilation is essential even in infrared models, which generate less steam but still produce sweat vapor.
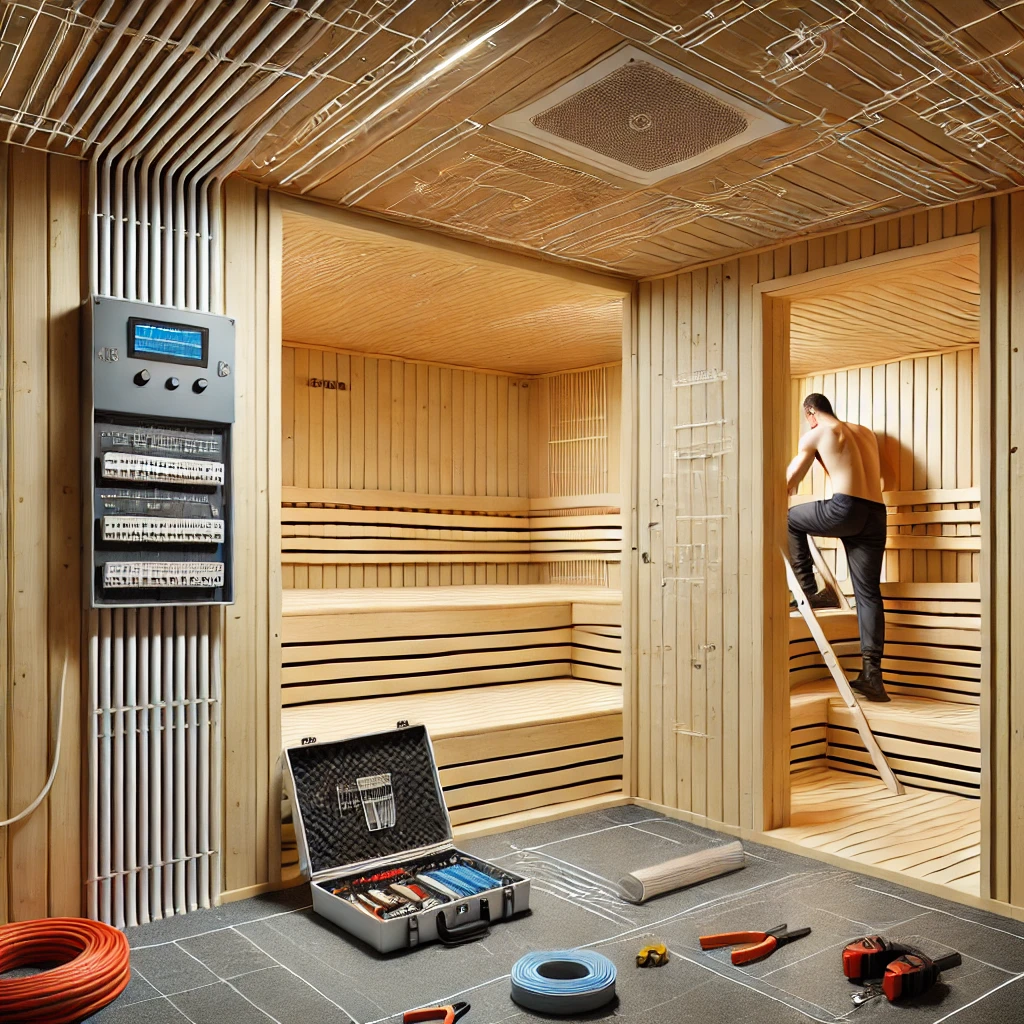
Do: Follow Electrical Codes and Manufacturer Specs
Most saunas require 240V hardwired circuits and dedicated GFCI breakers.
- Hire a licensed electrician for installation.
- Use correct wire gauge based on amperage and distance.
- Ground all metal components and ensure compliance with NEC Article 680 or local code equivalents.
Always verify heater power (kW), control voltage, and amperage before running electrical lines.
Don’t: Use Incompatible Power Sources
Never plug a high-wattage sauna into a standard wall outlet unless explicitly rated for 120V plug-and-play use. Incompatible power may:
- Damage control boards
- Trip breakers repeatedly
- Void your warranty
Imported models may require transformers or phase converters to adapt to U.S. standards.
Do: Prepare the Surface Properly
Install on a non-combustible, level surface:
- Use tile, sealed concrete, or treated wood for flooring.
- For outdoor units, use pavers or a reinforced pad with moisture barriers.
Ensure the structure is level to prevent stress on frame joints and glass doors.
Don’t: Skip Moisture Protection
Saunas generate significant moisture. Failing to plan for this can damage adjacent materials or structural elements.
- Use vapor barriers behind walls.
- Keep electrical components shielded.
- Do not allow water pooling around the sauna base—ensure adequate drainage.
This is especially important for basement installations where relative humidity is already high.
Do: Assemble Components Precisely
Tightly sealed joints, panel alignment, and door positioning affect energy efficiency and structural durability.
- Follow the manufacturer’s step-by-step instructions.
- Check all joints for gaps.
- Use recommended fasteners and adhesives only.
Infrared panel misalignment or improperly seated heaters can cause performance issues or fire hazards.
Don’t: Install Without Clearance or Safety Buffer
Maintain minimum clearances around the unit:
- 2–3 inches between walls and external panels
- 12 inches between heater and any object (or per manufacturer)
- Sufficient overhead space for heat dissipation
Avoid installing near flammable materials or low-hanging shelves, especially in traditional steam saunas.
Do: Seal and Insulate Properly (If Building Custom)
If building a custom unit, use thermal insulation (R-13 or higher) and seal joints completely to retain heat and prevent energy loss.
- Insulate walls and ceiling with foil-backed vapor barrier.
- Seal all seams and junctions with foil tape.
Improper insulation increases heating times and energy consumption, reducing efficiency.
Don’t: Overlook Local Permitting and Inspection
Depending on location and installation type, your project may require:
- Electrical permit
- Building permit
- Final inspection (especially for commercial settings)
Non-compliance can lead to penalties, forced removal, or denied insurance claims in the event of fire or injury.
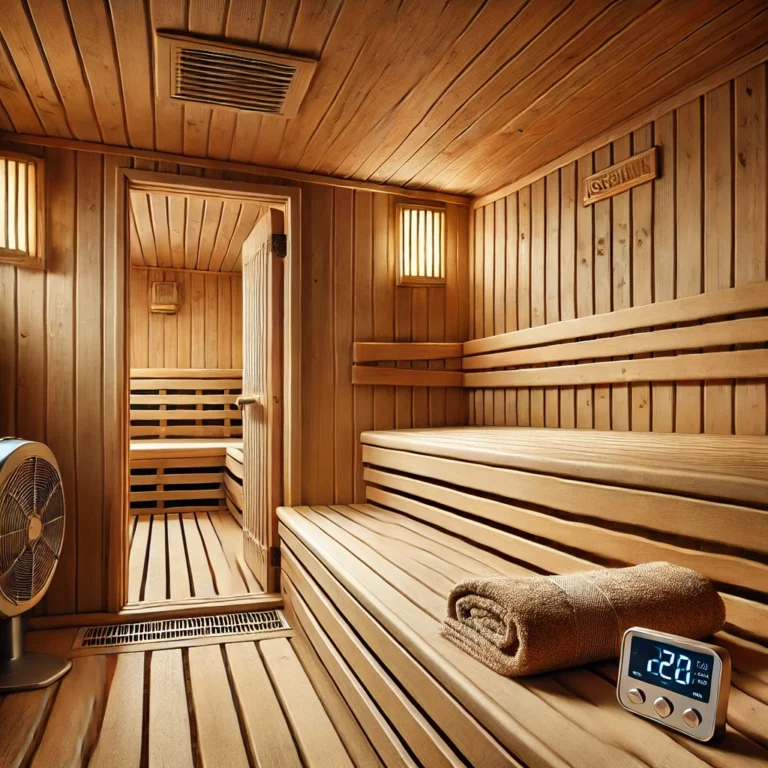
Do: Plan for Future Maintenance
Install the unit where access to heaters, panels, and wiring is possible without dismantling the structure.
- Leave space behind and below for wiring and ventilation checks.
- Use modular flooring if possible for easy replacement or cleaning.
This ensures long-term maintainability and simplifies troubleshooting.
Don’t: Assume All Saunas Install the Same Way
Infrared, electric heater, and wood-burning models all have unique installation demands. Review:
- Wiring diagrams
- Ventilation paths
- Combustion requirements (for wood-fired models)
- Panel orientation and IR emitter placement
Each technology requires a different installation methodology to function safely and efficiently.
Conclusion: Install It Right the First Time
Sauna installation is a highly technical process that directly impacts the system’s safety, efficiency, and lifespan. Careful attention to location, ventilation, electrical compliance, and moisture management ensures a successful outcome. Following these professional do’s and don’ts prevents costly mistakes and allows you to fully enjoy the long-term benefits of your wellness investment.